
Any DIY paint project requires a few extra steps to ensure a long-lasting, smooth, and professional finish. From thoroughly cleaning your walls to filling, sanding, taping, and priming, each step is vital to avoid peeling or an uneven finish. Here are the perfect prepping principles to ensure your next paint project is a successful one:
Step 1: Patch Any Visible Holes
Start by inspecting your walls for any visible damage or holes. If you find any, it’s essential to patch them before you start painting. You’ll need a few simple tools for this task, such as a putty knife, spackle or joint compound, and sandpaper.
To patch the hole, clean it by removing any loose pieces of drywall or debris. Then, use the putty knife to fill the hole with your compound and smear the filler to fill it completely. Allow the filler to air-dry thoroughly. Once dry, lightly sand the patched area until it’s smooth. Repeat the process if necessary for larger holes or imperfections.
Step 2: Thoroughly Clean The Walls
Cleaning the walls is a crucial step to ensure proper paint adhesion and a smooth finish. Start by dusting the walls from top to bottom with a barely damp cloth or a Swiffer. This will help remove dirt and debris that has collected over time. Be thorough in this process to achieve the best results.
Additionally, vacuum the dust and pet hair along the baseboards, trim, and molding. Make sure the walls are completely dry and free from dust before moving on to the next step.
Step 3: Let’s Get Taping
Taping is necessary to protect areas you don’t want to get paint on. Use painter’s tape to cover the trim, molding, floor, electrical outlets, and any other surfaces you want to avoid painting. Take your time with this step to ensure clean lines and precise edges.
If you have a larger paint project, consider removing as much furniture as possible from the room and protecting the floors with tarps or coverings.
Step 4: It’s Prime Time
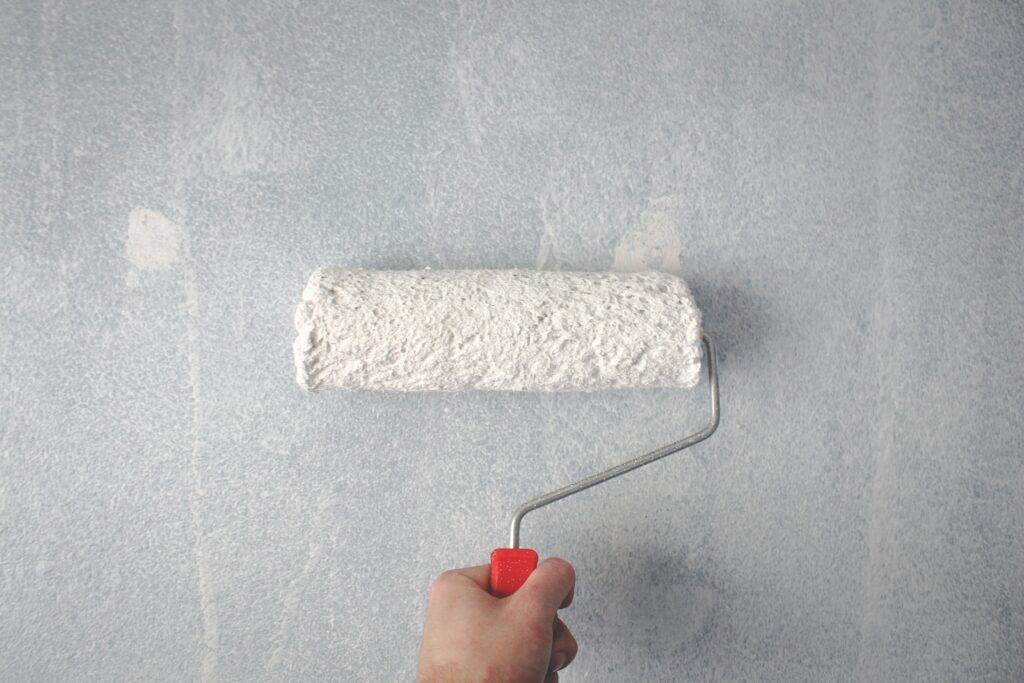
Using a primer is essential for hiding uneven surfaces, imperfections, and ensuring better paint adhesion. APCO’s Primer is recommended for its low VOC, ease of application, and mold-resistant properties.
Before applying the primer, dampen your paint roller to help it absorb the primer better. Brush out the damp liquid on a clean surface like cardboard to remove any loose bristles.
Apply the primer in measurable sections, working from top to bottom in V or W shaped strokes until the entire section is covered. For bolder colors, APCO’s Primer recommends two coats before painting, while one coat is sufficient for lighter colors. Wait for the first coat to dry and then recoat the wall two hours later if needed. Refer to APCO’s product information sheet for further details.
Step 5: The Fun Part!
Now comes the enjoyable part – painting! Ensure you have all the necessary supplies, including tarps, brushes, trays, stirrers, a can opener, and additional rags to wipe away spills or splatters.
Thoroughly stir the paint before and during use to achieve a consistent color and texture. If using APCO’s interior paint, apply one coat over the primer. Follow up with additional coats if needed to smooth out lines and uneven spots. Allow each coat to dry before applying the next.
Pro Tip: Remove the painter’s tape when the paint feels dry to the touch, but don’t wait too long, as you may risk ripping or peeling off dried paint. Refer to the manufacturer’s label for further instructions.
By following these perfect prepping principles, you’ll set yourself up for a successful and professional-looking paint project! Happy painting!


